Can Heavier Backing Fix a Badly Digitized Design?
embroidery backing guide, embroidery stabilizer guide
Thicker backing looks like the easy fix when a design puckers. You grab a heavier roll, hoop again, and hope. Sometimes the second try looks better, so you keep doing it.
Here’s the catch. Every embroidery backing guide I trust and every embroidery stabilizer guide on my shelf says the same thing: backing supports the stitches, it doesn’t correct them. This post shows you where heavier backing helps, where it fails, and how to find the real problem fast.
What a Badly Digitized Design Looks Like on Fabric
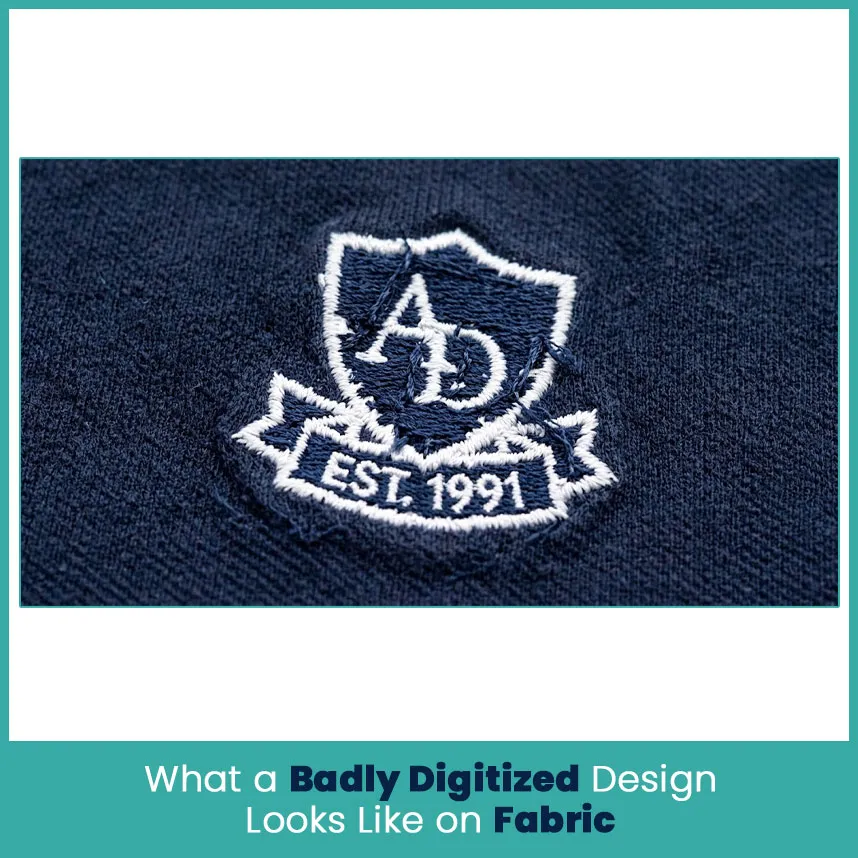
A bad file rarely looks bad on screen. The trouble starts when the needle meets real fabric. I check two things first: how thick the stitching sits, and whether the shapes hold their size once the thread pulls.
Over Dense Fills and Stacked Underlay
Density means how close the stitch lines sit. Most fills start around 0.4 mm spacing. Tighten that, pile a heavy underlay underneath, and the needle hits the same spot again and again. The fabric bunches, the thread frays, and the design turns into a little shield.
Over dense files usually show these signs:
A hard, raised surface you can tap with a fingernail.
Thread breaks in the same spot on every stitch-out.
Puckering inside the design, not only around the edge.
Needle holes that look like perforations on lighter fabric.
I reviewed a left-chest logo once that carried 14,000 stitches in under three inches. The customer wanted a soft cotton polo. No backing on earth fixes that, and the shop burned four blanks before anyone opened the file.
Weak Pull Compensation and Wrong Stitch Direction
Thread pulls fabric inward as it stitches. Pull compensation widens each shape slightly to cancel that pull. When the setting is too low, the outline and fill drift apart, thin letters get thinner, and circles turn into ovals.
Stitch direction matters just as much. Long fills that all point the same way tug the fabric in one direction and leave a ripple line across the design. A good digitizer changes the angle between surrounding shapes so the pull cancels itself out.
Watch for these:
White gaps between a satin border and its fill.
Letters that look narrower than the artwork.
A visible ripple that follows the stitch angle.
Round logos that come out slightly oval.
What Heavier Backing Can and Can’t Fix
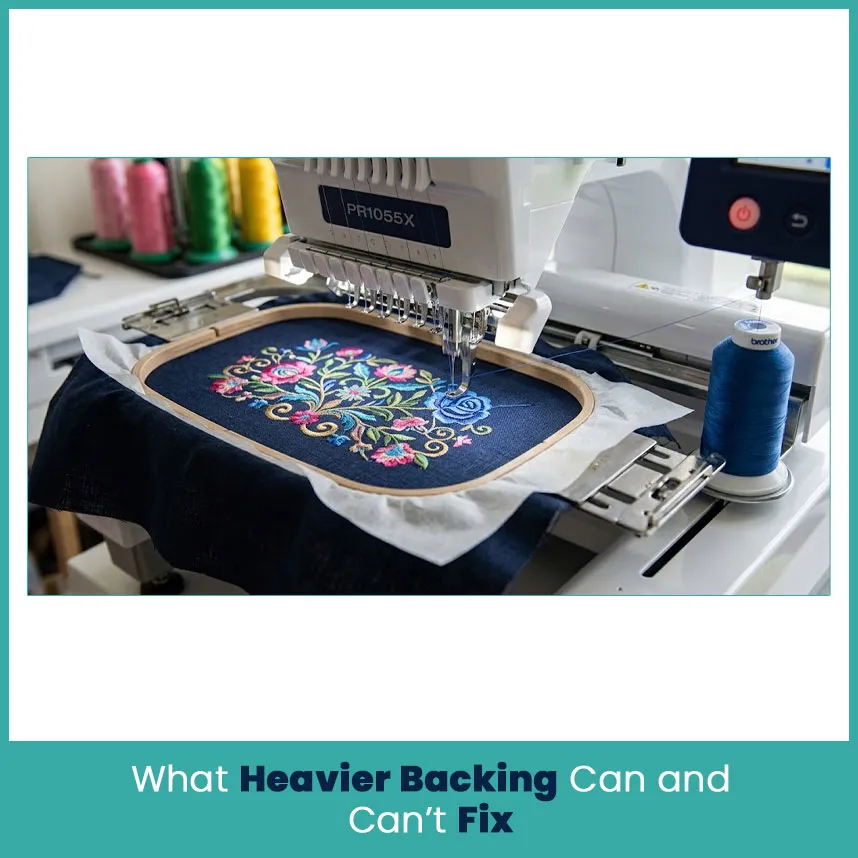
Backing is a support layer, so it helps with movement. It does nothing for math errors in the file. That one idea sorts almost every case.
Problems Extra Backing Can Reduce
Backing weight is measured in ounces per square yard. Stabilizer weight refers to the density of the backing material, measured in ounces per square yard. Shops usually sort it into light cutaway at about 2 oz, medium at 2.5 oz, and heavy at 3 oz.
Stitch count guides the choice too. The common benchmark raises support at roughly the 5000, 10,000, and 15,000 stitch marks.
Going up one weight actually helps with:
Mild puckering on a design that sits at the top of its weight range.
Fabric shifting inside the hoop on knits.
Small outline gaps caused by fabric movement, not file errors.
Edges that lift because the fabric tugs against the stitches.
If your design lands near the line between two weights, step up once and test again. That’s a fair move.
Problems Only a File Fix Can Solve
Some problems live inside the file, and backing never touches them:
Gaps that appear even on a rock-solid hoop (pull compensation).
Tiny text that fills in or turns to mush (too small, wrong stitch type).
Repeated thread breaks and bird nests (stacked stitches, bad overlap).
A hard, bulletproof surface (too much density).
Long jump stitches and extra trims (poor stitch order).
Shapes that sit off-center from each other (registration).
Think of it like a cracked foundation. You can paint the wall as many times as you like, and the crack keeps coming back.
Why Piling On Heavy Backing Backfires
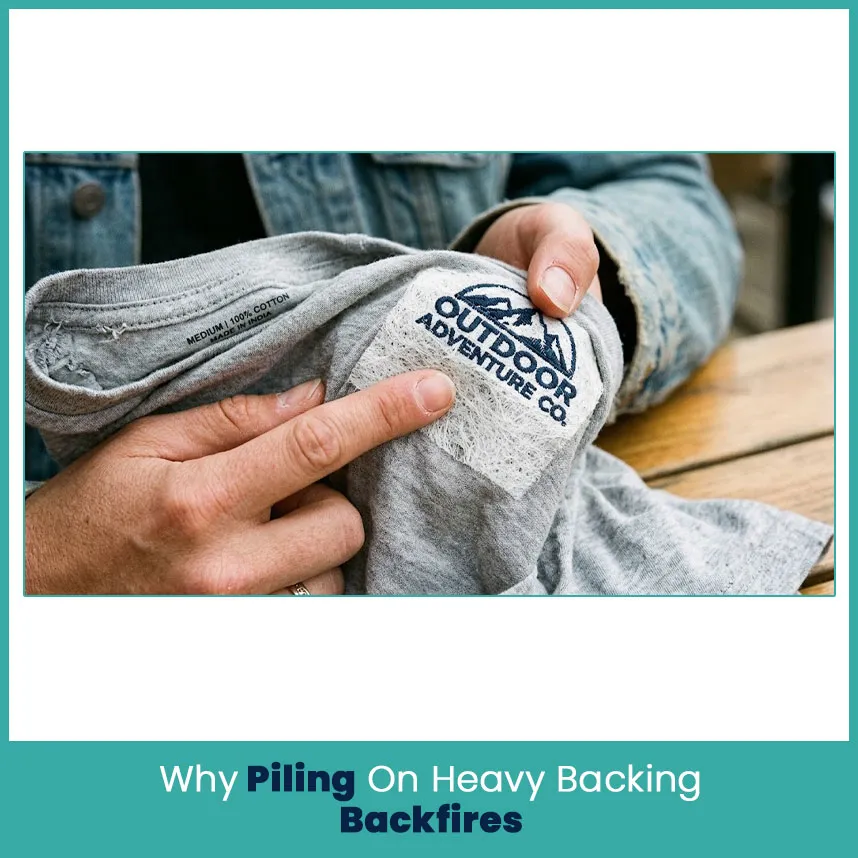
When backing doesn’t work, people add more. Well, that move creates two new problems.
Stiff, Board-Like Results on Soft Fabric
Heavy cutaway stays in the garment. On a tee, a baby onesie, or a thin polo, that layer turns the logo area into a stiff square. Shops trim the excess to about a quarter inch around the design and round the corners so the edges don’t curl after washing. Even with good trimming, a heavy sheet behind a light fabric looks and feels wrong. I’ve watched customers rub the back of a shirt and ask why it’s scratchy. Backing was the answer every time.
Watch the garment, not just the stitch-out:
Stiffness around the logo.
A visible outline of the backing through light fabric.
Skin irritation on shirts worn close to the body.
Extra bulk when you fold the garment.
Double Layers Hide the Real Problem
Two layers calm the fabric, so a sample looks fine. Then the bulk order starts, the machine speeds up, and the same file puckers again. The sample misled everybody.
Double layers also push the needle through more material. Thread breaks go up, and needles heat and dull faster. If you need two layers on every project for one design, the file is the problem. Fix it there.
Backing Problem or File Problem? How to Tell
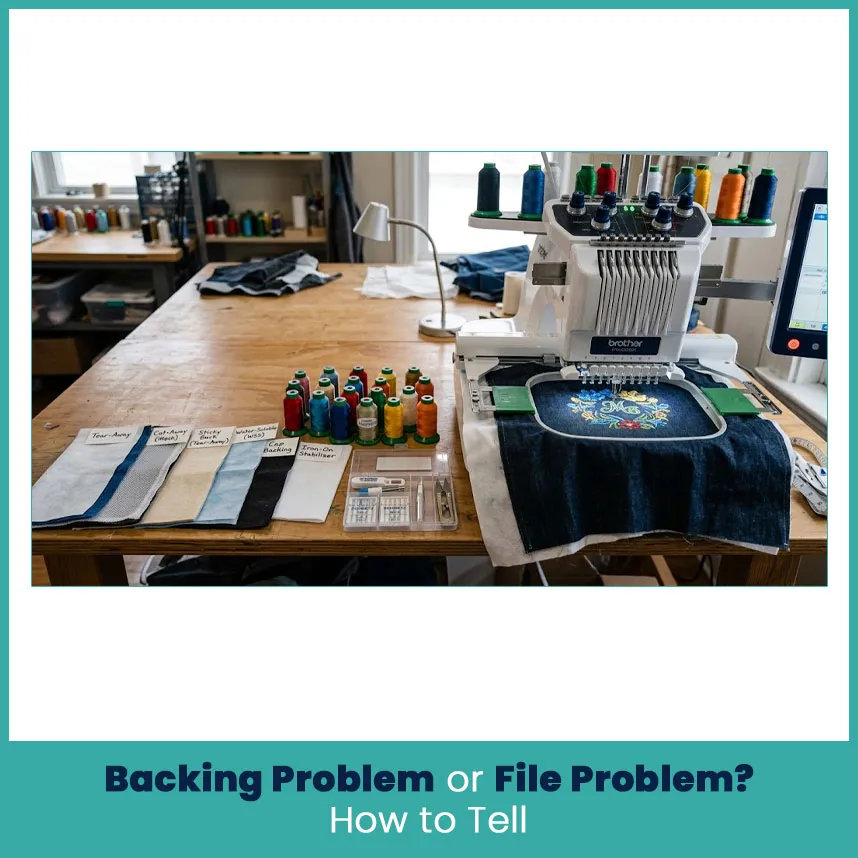
You don’t need to guess. One test settles it in about twenty minutes.
The Same-File, Different-Backing Test
Change one thing at a time. Use the same fabric, the same thread, the same needle, and the same machine speed. Then follow these steps:
Stitch the design on your current backing and keep it as your baseline.
Stitch it again, one weight heavier in the same category.
Stitch it a third time on a different category (tearaway to cutaway, for example).
Lay all three side by side under good light.
Wash and dry one sample and check it again.
Take notes. A phone photo of each sample saves you from trusting your memory.
What Your Test Stitch-Out Is Telling You
Read the results like this:
Heavier backing cleans it up completely: the backing was too light. Keep the heavier weight.
Cutaway fixes it but tearaway doesn’t: fabric stretch was the issue. Stay with cutaway.
Backing helps a little, but the defect stays in all three: the file is the problem.
Defect sits in the exact same spot every time: check stitch order and overlap in the file.
Gaps stay the same width everywhere: pull compensation needs a bump.
By the way, if two layers fixed it in the test, treat that as a warning sign, not a win.
How to Fix the Design File Properly
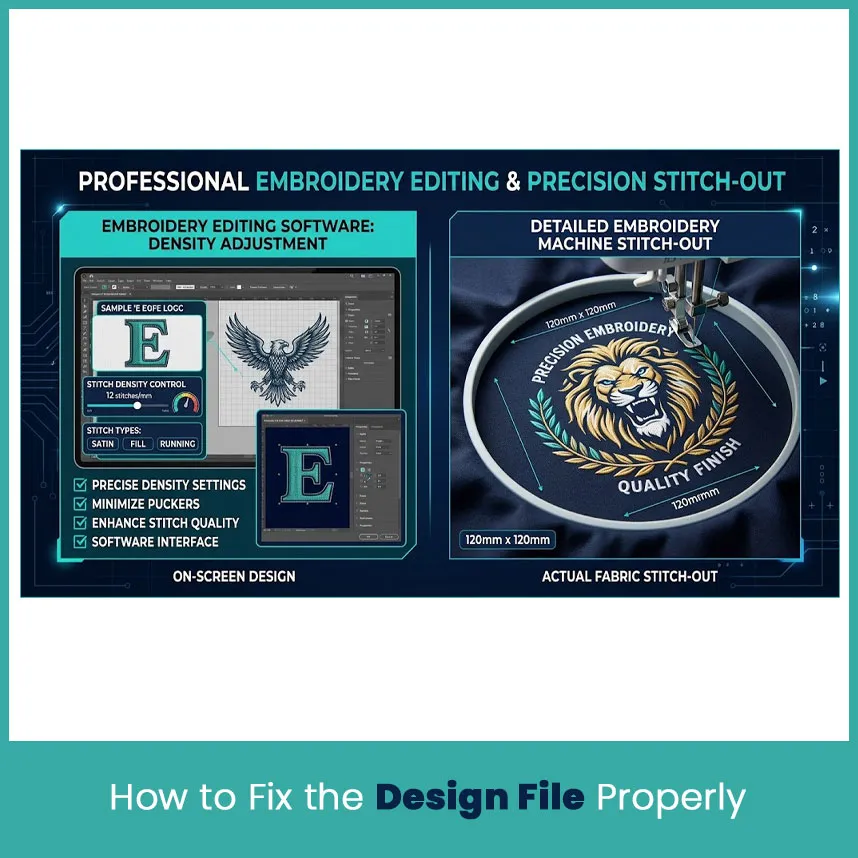
Lower Density and Rework the Underlay
Open the file in your software and start with these steps:
Drop fill density by 10 to 15 percent and test again.
Swap a heavy underlay for a lighter edge walk or center walk.
Remove hidden stitches under overlaps.
Set pull compensation a little higher on narrow shapes.
Change the fill angle on neighboring shapes.
Enlarge tiny text or switch it to a simpler stitch type.
Change only one setting per test. Otherwise, you never learn which change worked.
When to Get the Design Re-Digitized
Some files are past saving. Hire a digitizer when:
Three test stitch-outs show the same defect.
The design needs two layers of backing to look decent.
The stitch count looks huge for the size.
The artwork came from an auto-digitize button.
Pick the Right Backing After the File is Fixed
Once the file is clean, backing choice gets simple. Use this table as a starting point and always test first.
Fabric | Starting backing |
T-shirts and knits | Light to medium cutaway |
Polos and pique | Medium cutaway |
Caps | Heavy cutaway |
Woven cotton and canvas | Medium tearaway |
Towels and fleece | Cutaway plus water-soluble topping |
Sheers and lace | Water-soluble |
Clean file, right backing, one test stitch-out. That order beats a pile of heavy backing every time.
FAQs
Can a heavier backing stop puckering on a dense design?
Only partly. It reduces mild puckering but if the density is too high, the fabric will still pull in.
How do I know my design is over-digitized?
If puckering, thread breaks or stiffness continue even on the correct backing weight, the file is the problem.
Is it okay to use two layers of backing on a bad file?
It works as a temporary patch but it adds bulk and doesn’t solve the cause. Re-digitizing is the real fix.
Can a design be re-digitized instead of replaced?
Yes. A digitizer can lower density, adjust underlay and fix pull compensation without redrawing the whole design.
Author Bio
Matthew Davis
Senior Embroidery Digitizer
I'm Matthew Davis, a skilled embroidery digitizer with more than 15 years of practical experience. I specialize in logo digitizing, 3D puff embroidery designs, applique digitizing, custom embroidery digitizing, and working with difficult fabrics. Over the years, I have worked with different fashion brands and production teams worldwide. I always share simple tips and useful techniques to help both beginners and businesses improve their embroidery work.
Subscribe to the newsletter
Get matthewdavis4116 new posts in your inbox.